Custom sticker options
When it comes to custom stickers, there are three types to consider: die cut stickers, kiss cut stickers and clear stickers.
Die cut stickers:
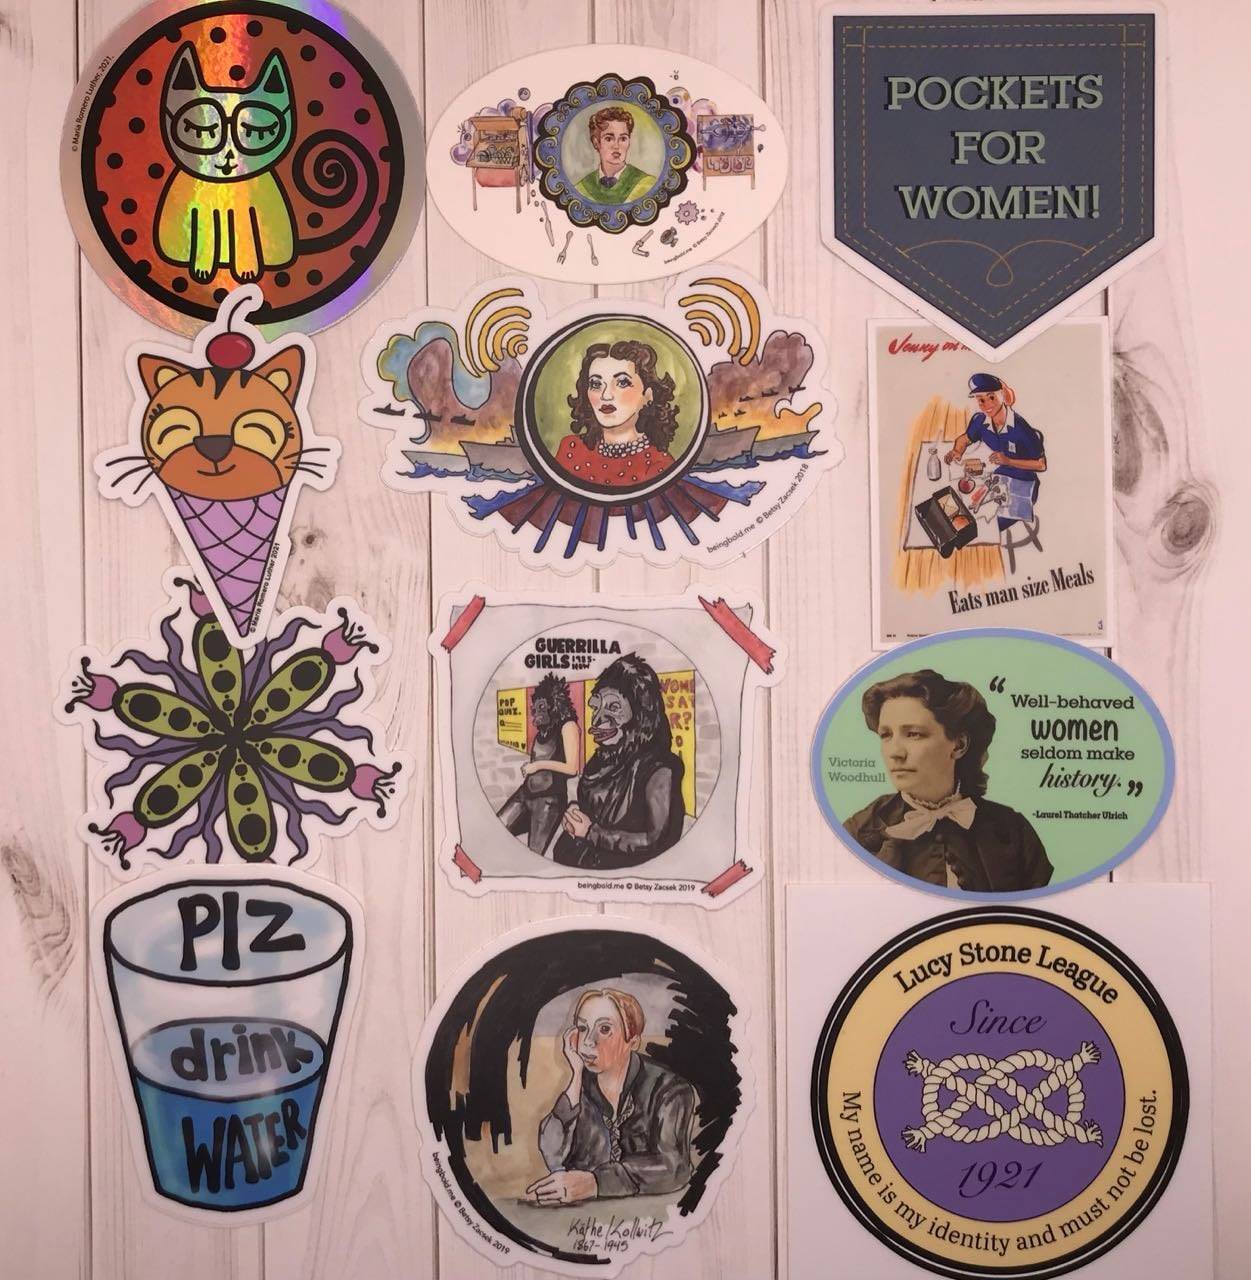
When people refer to a die cut sticker, they are often talking about a sticker cut into a unique shape. The term is actually referring to how the stickers are cut. A die cut sticker is cut with a laser and can be either glossy or matte. These are the most popular custom made stickers. Die Cut Stickers are always finished individually, and will have a split backing for easy peeling and applying. This means you won’t have to struggle with the spot where the edge of the backing meets the stickers. Just give these stickers a slight fold and the backing will easily peel away.

Custom sticker examples available from StickerGiant
Kiss cut stickers:
Kiss Cut Stickers have the same great qualities as our Die Cut Stickers, but are finished with a larger square backing that surrounds your sticker design. The wider backing is ideal for delicate designs, or sticker designs with rounded edges that you know you’ll want to have stacked or propped up for display. Choose from Glossy or Matte laminations for the finish that goes with your sticker designs best!
Clear stickers:
Sometimes it’s good to be transparent – by printing your custom stickers on a clear, transparent material. With clear stickers, any part of your sticker that is not your design, will be transparent, allowing the surface it’s applied on to show through. Clear Stickers are popular as window stickers. They can be printed with your choice of a back facing or front facing adhesive for versatility in how these stickers get applied.

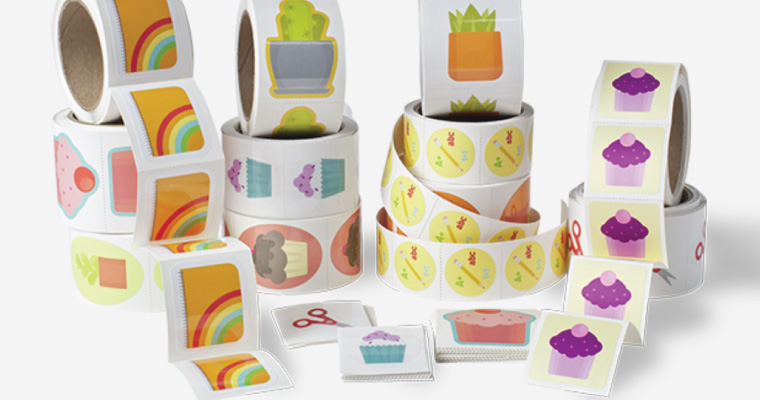
Custom label examples available from Sticker Giant
Custom label options
A custom label is a fantastic way to easily create memorable, branded packaging. Check out these five options depending on what you’re packaging.
Glossy labels: These are the most popular labels. They are printed on a white material so your color options are limitless. The labels are finished with a protective glossy laminate.
Matte labels: Another popular packaging option. These labels are printed on the same material as glossy labels, but finished with a matte lamination.
Clear labels: Boldly go where few labels go. Show off your product or packaging through the clear material these labels are printed on.
Glossy paper labels: The least expensive option for custom labels. These look anything but cheap when printed with your designs on a glossy paper material.
Matte recycled paper labels: Printed on a recycled vellum material. These labels have a seriously luxurious look and feel to them.
If you’re going to be using a label application machine to customize your packaging, you’ll need your designs to spool off the roll in a specific direction. Just let the sticker provider know when you are customizing your labels and they’ll ensure this roll is created correctly.
How Set Up Artwork for Custom Stickers and Labels
Stickers can be printed from both raster and vector images.
Vector images – are infinitely scalable graphics made up of paths, lines and shapes. Vector graphics are commonly made in Adobe Illustrator and have file extensions .ai, .eps and .svg.
Raster images – are made up of pixels and are most often photographs. Raster images need to be 300dpi at print size for high quality printing.

Diagram of how to set up your artwork for custom sticker and label printing
In order for your stickers to print with the best possible quality – send your artwork in vector format or raster format at 300 dpi CMYK color mode.
Every custom sticker artwork file has three main attributes: safe area, cut line and bleed. All essential information on a sticker like text or logos should stay inside the safe area. The area outside the safety zone is for background color and bleed. Generally, the safe area begins 1/8″ inside the cut line, but this can be as narrow as 1/16″.
Any artwork that goes to the edge of the sticker should extend to the bleed line. This extra space creates a tolerance, ensuring the background doesn’t get cut off in production. The bleed extends 1/8” out from the cut line.
The cut line is the edge of your finished sticker. The lasers cut along this path during production. In general, the cutline is setup 1/8” out from your artwork, this can be setup to be 1/16″ out from your artwork. Cut lines should always have rounded corners.
Are you a member of The Fabric Shop Network? Members receive a 20% discount and Free Shipping from StickerGiant.
Andrew Matranga is the Brand Journalist at StickerGiant. He delivers editorial content to help grow StickerGiant business, primarily by producing the Stickers on the Mic podcast and writing the blog. He believes every sticker and label has a story behind it, and that telling stories is the best way to build customer loyalty and trust


